Install Apache, MysQl and PHP.
 |
|
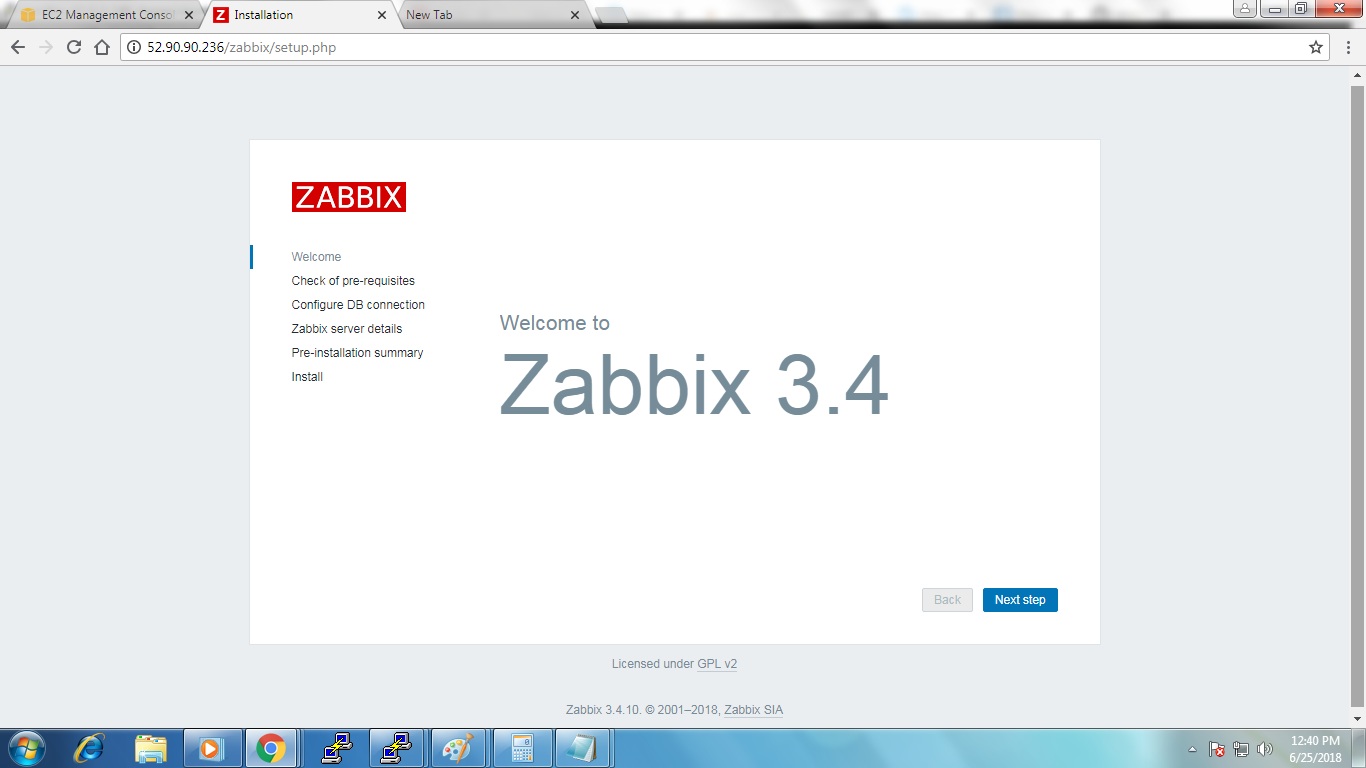
Click next to configure Zabbix.
|
 |
| All require packages are showing ok. click next. |
 |
|
Enter database details which we have created above.
|
 |
|
You need to define Host and port details.
|
 |
|
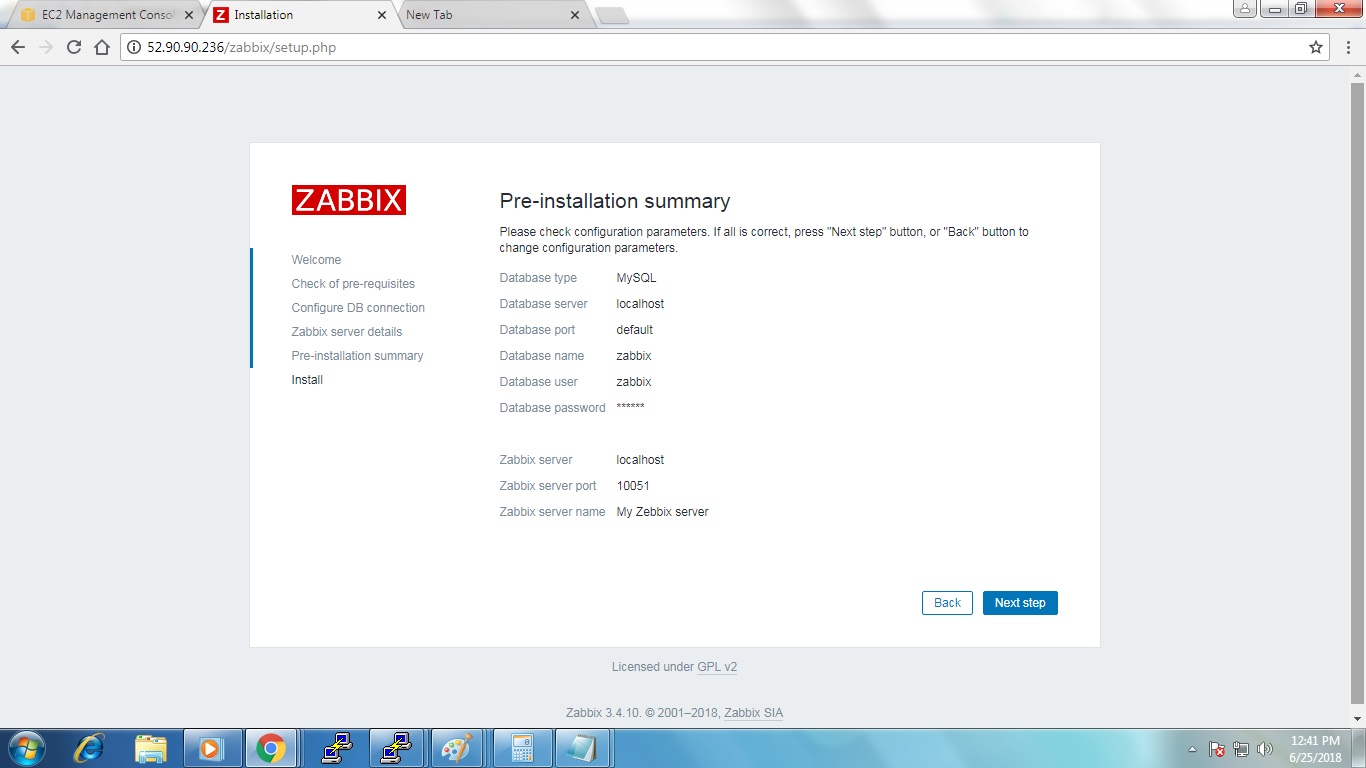
It will show you summary of you have configured all settings.
|
 |
|
Click next to install.
|
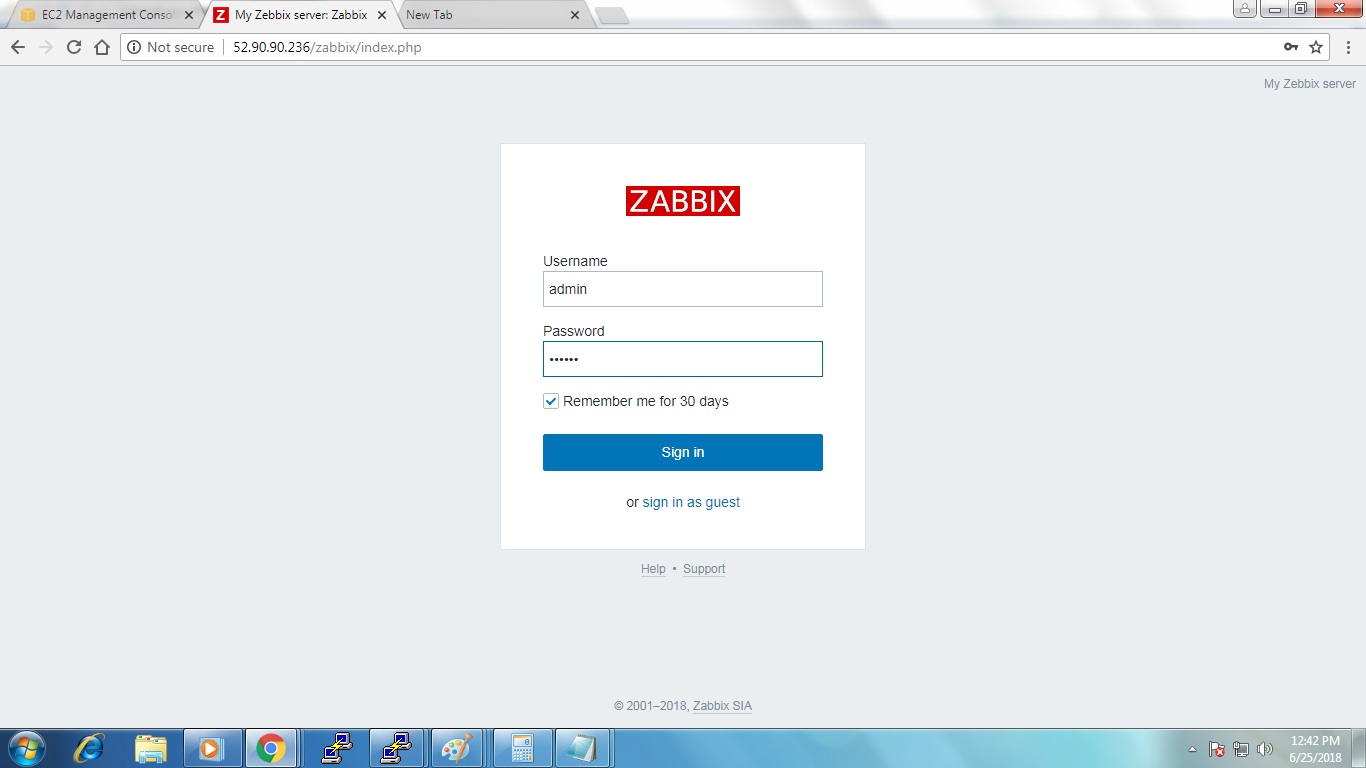 |
| Login with User admin and default password is zabbix. |
 |
| Zabbix Dashboard after successful login. |
Congratulations, We have successfully installed Zabbix server on our Ubuntu machine.
Now we have ready server for monitor host. So now we have to install and configure Zabbix host for monitoring.
How To Install Zabbix Agent on Ubuntu 16.04/
Zabiix agent is require to install on every host system, So that we can monitor that host from zabbix server.
To install zabbix agent we have to enable Apt Repository on cline machine.
$wget http://repo.zabbix.com/zabbix/3.4/ubuntu/pool/main/z/zabbix-release/zabbix-release_3.4-1+xenial_all.deb
$dpkg -i zabbix-release_3.4-1+xenial_all.deb
After adding Apt repository you will able to install zabbix agent, first we have to update our repository by apt update then we will install zabbix agent package.
apt-get update
apt-get install zabbix-agent
After installing zabbix agent on local machine we have to configure agent setting.
vim /etc/zabbix/zabbix_agentd.conf
Server=your server ip
Hostname=slaveserver
Now restart zabbix agent.
$service zabbix-agent start
So now we have succesfuly install zabbix agent . Now we have to add this agent host to zabbix server for monitoring. To add new host first you have to login in to your zabbix server.
Click on Configuration.
Click on Host in submenu.
And click on create host.

Now we will have to add require details of remote host which we have to monitor.
enter hostname.
Enter visible name
Enter group infor [Select linux servers if you have linux instance]
Enter host ip in agent interface

Now switch on templates

select template which you want not monitor.we will select Templet OS linux and Http for monitor Linux os and httpd.select below template
Template App HTTP Service
Template OS Linux
Click on add button and save. So now we have succesfully added Linux host to zabbix server, Now we can monitor that client host from Zabbiz server. we will able to monitor host machine and httpd service.

How to view graph in Zabbix server.

Congratulations,,,, Now you can monitor your host from zabbix server. one most IMP past is to Configure and enable Triggers and Email Notification, So in next article i will explain you to how to configure zabbix email service for notification errors.