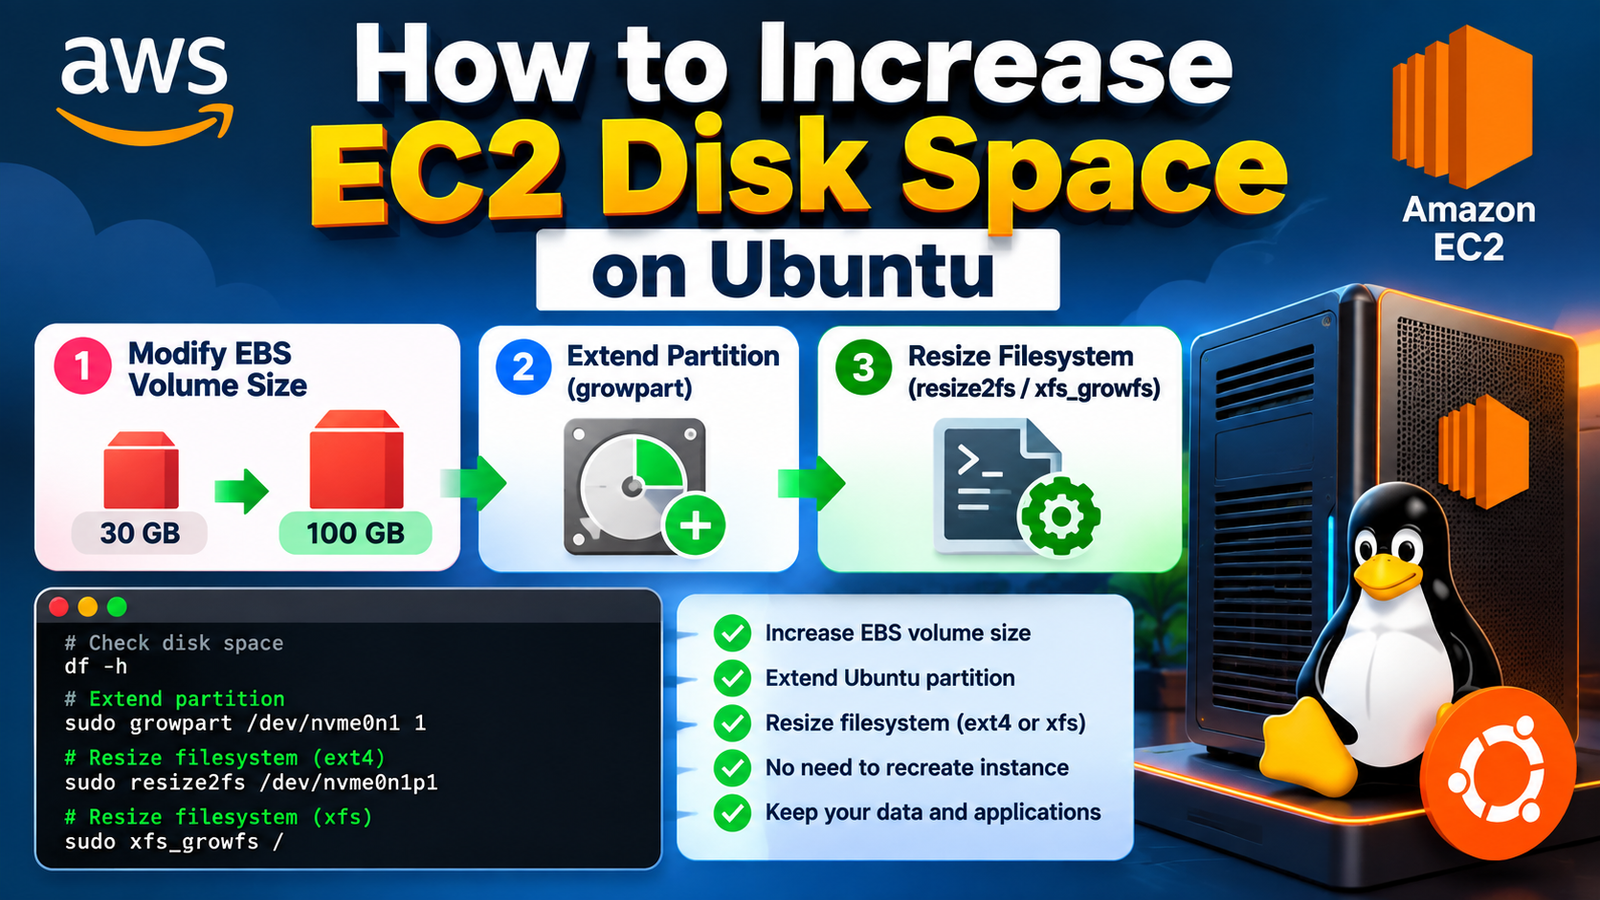
How to Increase EC2 Disk Space on Ubuntu
Running out of disk space on an AWS EC2 Ubuntu server is a common issue, especially when running Docker, Jenkins, GitLab Runner, applications, logs, or databases.
The good news is that you can usually increase the disk size without rebuilding the EC2 instance.
This guide shows how to increase an AWS EBS volume and then extend the Ubuntu partition and filesystem.
How EC2 Disk Expansion Works
Increasing the disk requires two steps:
- Increase the EBS volume size in AWS.
- Extend the partition and filesystem inside Ubuntu.
For example:
Before:
EBS Volume → 30 GB
Ubuntu     → 30 GB

After:
EBS Volume → 100 GB
Ubuntu     → 100 GB
1. Check Current Disk Space
SSH into your EC2 Ubuntu instance and check the current disk usage:
df -hThen check the disk and partition layout:
lsblkYou may see something similar to:
NAME         SIZE TYPE MOUNTPOINT
nvme0n1       30G disk
└─nvme0n1p1   30G part /
Here, the root filesystem is using a 30 GB partition.
2. Increase the EBS Volume in AWS
Open the AWS Management Console and go to:
EC2 → Elastic Block Store → Volumes
Find the EBS volume attached to your EC2 instance.
Select the volume and choose:
Actions → Modify volume
For example:
Current size: 30 GiB
New size:     100 GiB
Click Modify.
For most EBS volume expansions, the EC2 instance can remain running while the volume is modified.
3. Check the Disk Again
After AWS completes the volume modification, SSH back into the server and run:
lsblkYou may now see:
nvme0n1       100G disk
└─nvme0n1p1    30G part /
The EBS disk is now 100 GB, but the Ubuntu partition is still 30 GB.
We need to extend the partition.
4. Extend the Ubuntu Partition
For a typical Ubuntu EC2 instance using /dev/nvme0n1p1, run:
sudo growpart /dev/nvme0n1 1Check the result:
lsblkYou should now see something similar to:
nvme0n1       100G disk
└─nvme0n1p1   100G part /
5. Extend the Filesystem
Before extending the filesystem, check which filesystem Ubuntu is using:
df -Th /If the filesystem is ext4
Run:
sudo resize2fs /dev/nvme0n1p1If the filesystem is XFS
Run:
sudo xfs_growfs /6. Verify the New Disk Size
Finally, check the available disk space:
df -hYou should now see the increased capacity:
Filesystem       Size  Used Avail Use%
/dev/nvme0n1p1    98G   28G   66G  30% /
Quick Command Summary
For a typical Ubuntu EC2 instance using an ext4 filesystem and /dev/nvme0n1p1:
# Check disk
lsblk
df -Th /

# Extend partition
sudo growpart /dev/nvme0n1 1

# Extend ext4 filesystem
sudo resize2fs /dev/nvme0n1p1

# Verify
df -h
Remember: The EBS volume must first be increased from the AWS Console or using the AWS CLI before running these commands.
Important: Check Your Device Name First
Do not blindly copy the device names from this example.
Your EC2 instance may use a different device name or partition layout.
Always check:
lsblk
df -Th
Then use the correct disk and partition shown by your server.
Conclusion
Increasing disk space on an AWS EC2 Ubuntu server is straightforward:
- Increase the EBS volume size in AWS.
- Extend the Linux partition using
growpart. - Extend the filesystem using
resize2fsfor ext4 orxfs_growfsfor XFS. - Verify the new capacity using
df -h.
This approach lets you expand the storage of an existing EC2 Ubuntu server without creating a new instance or rebuilding the operating system.